

Fix your own carkey
A few days ago the unlock button of my car key broke. The outer part of the plastic housing above the button fell off. “I know!” I said. “I’ll just fix it myself, how hard can it be?”
These are the steps I thought I would have to take:
- buy new key housing online.
- open old key housing and remove electronics and key
- put in new housing
- Done!
The tools I thought I would need were:
- small screwdriver
In practice it turned out to be a bit more of a hassle.
Step 1: buy new key housing online
This part was the easy part. Just type the car brand into your favorite search engine and something about keys, and it will be fine. € 23,45 through autosleutel.nl in my case. Next day delivery, not bad.
Step 2: open old key housing and remove electronics and key
This is where the fun begins. According to the provided instruction video, to open the housing you need a special pair of pliers. I call them reverse pliers, because when you squeeze them, they pull things apart instead of compressing them. Of course I don’t have exotic pliers like these, so I had to go to the hardware store. Luckily it was still open. All I had to go is go to the plier section, and press all of them to see which ones opened the opposite way. I finally spotted this nice pair of pliers. They even have Magictips, cool!
Unfortunately because of the urban environment they were locked behind an anti-theft device. Luckily it was no match for the special tool of the adept employee I asked for help. When I arrived at the cash register I mumbled “Of course I will use this tool again in the future.” as I paid €21,59 for these pliers.
I put the pliers into the key in the same way that the guy from the video did. Unfortunately only a small part broke off of my key housing. After using my own classic pliers, a little hacksaw, and cutting pliers without damaging the electronics inside it finally opened.
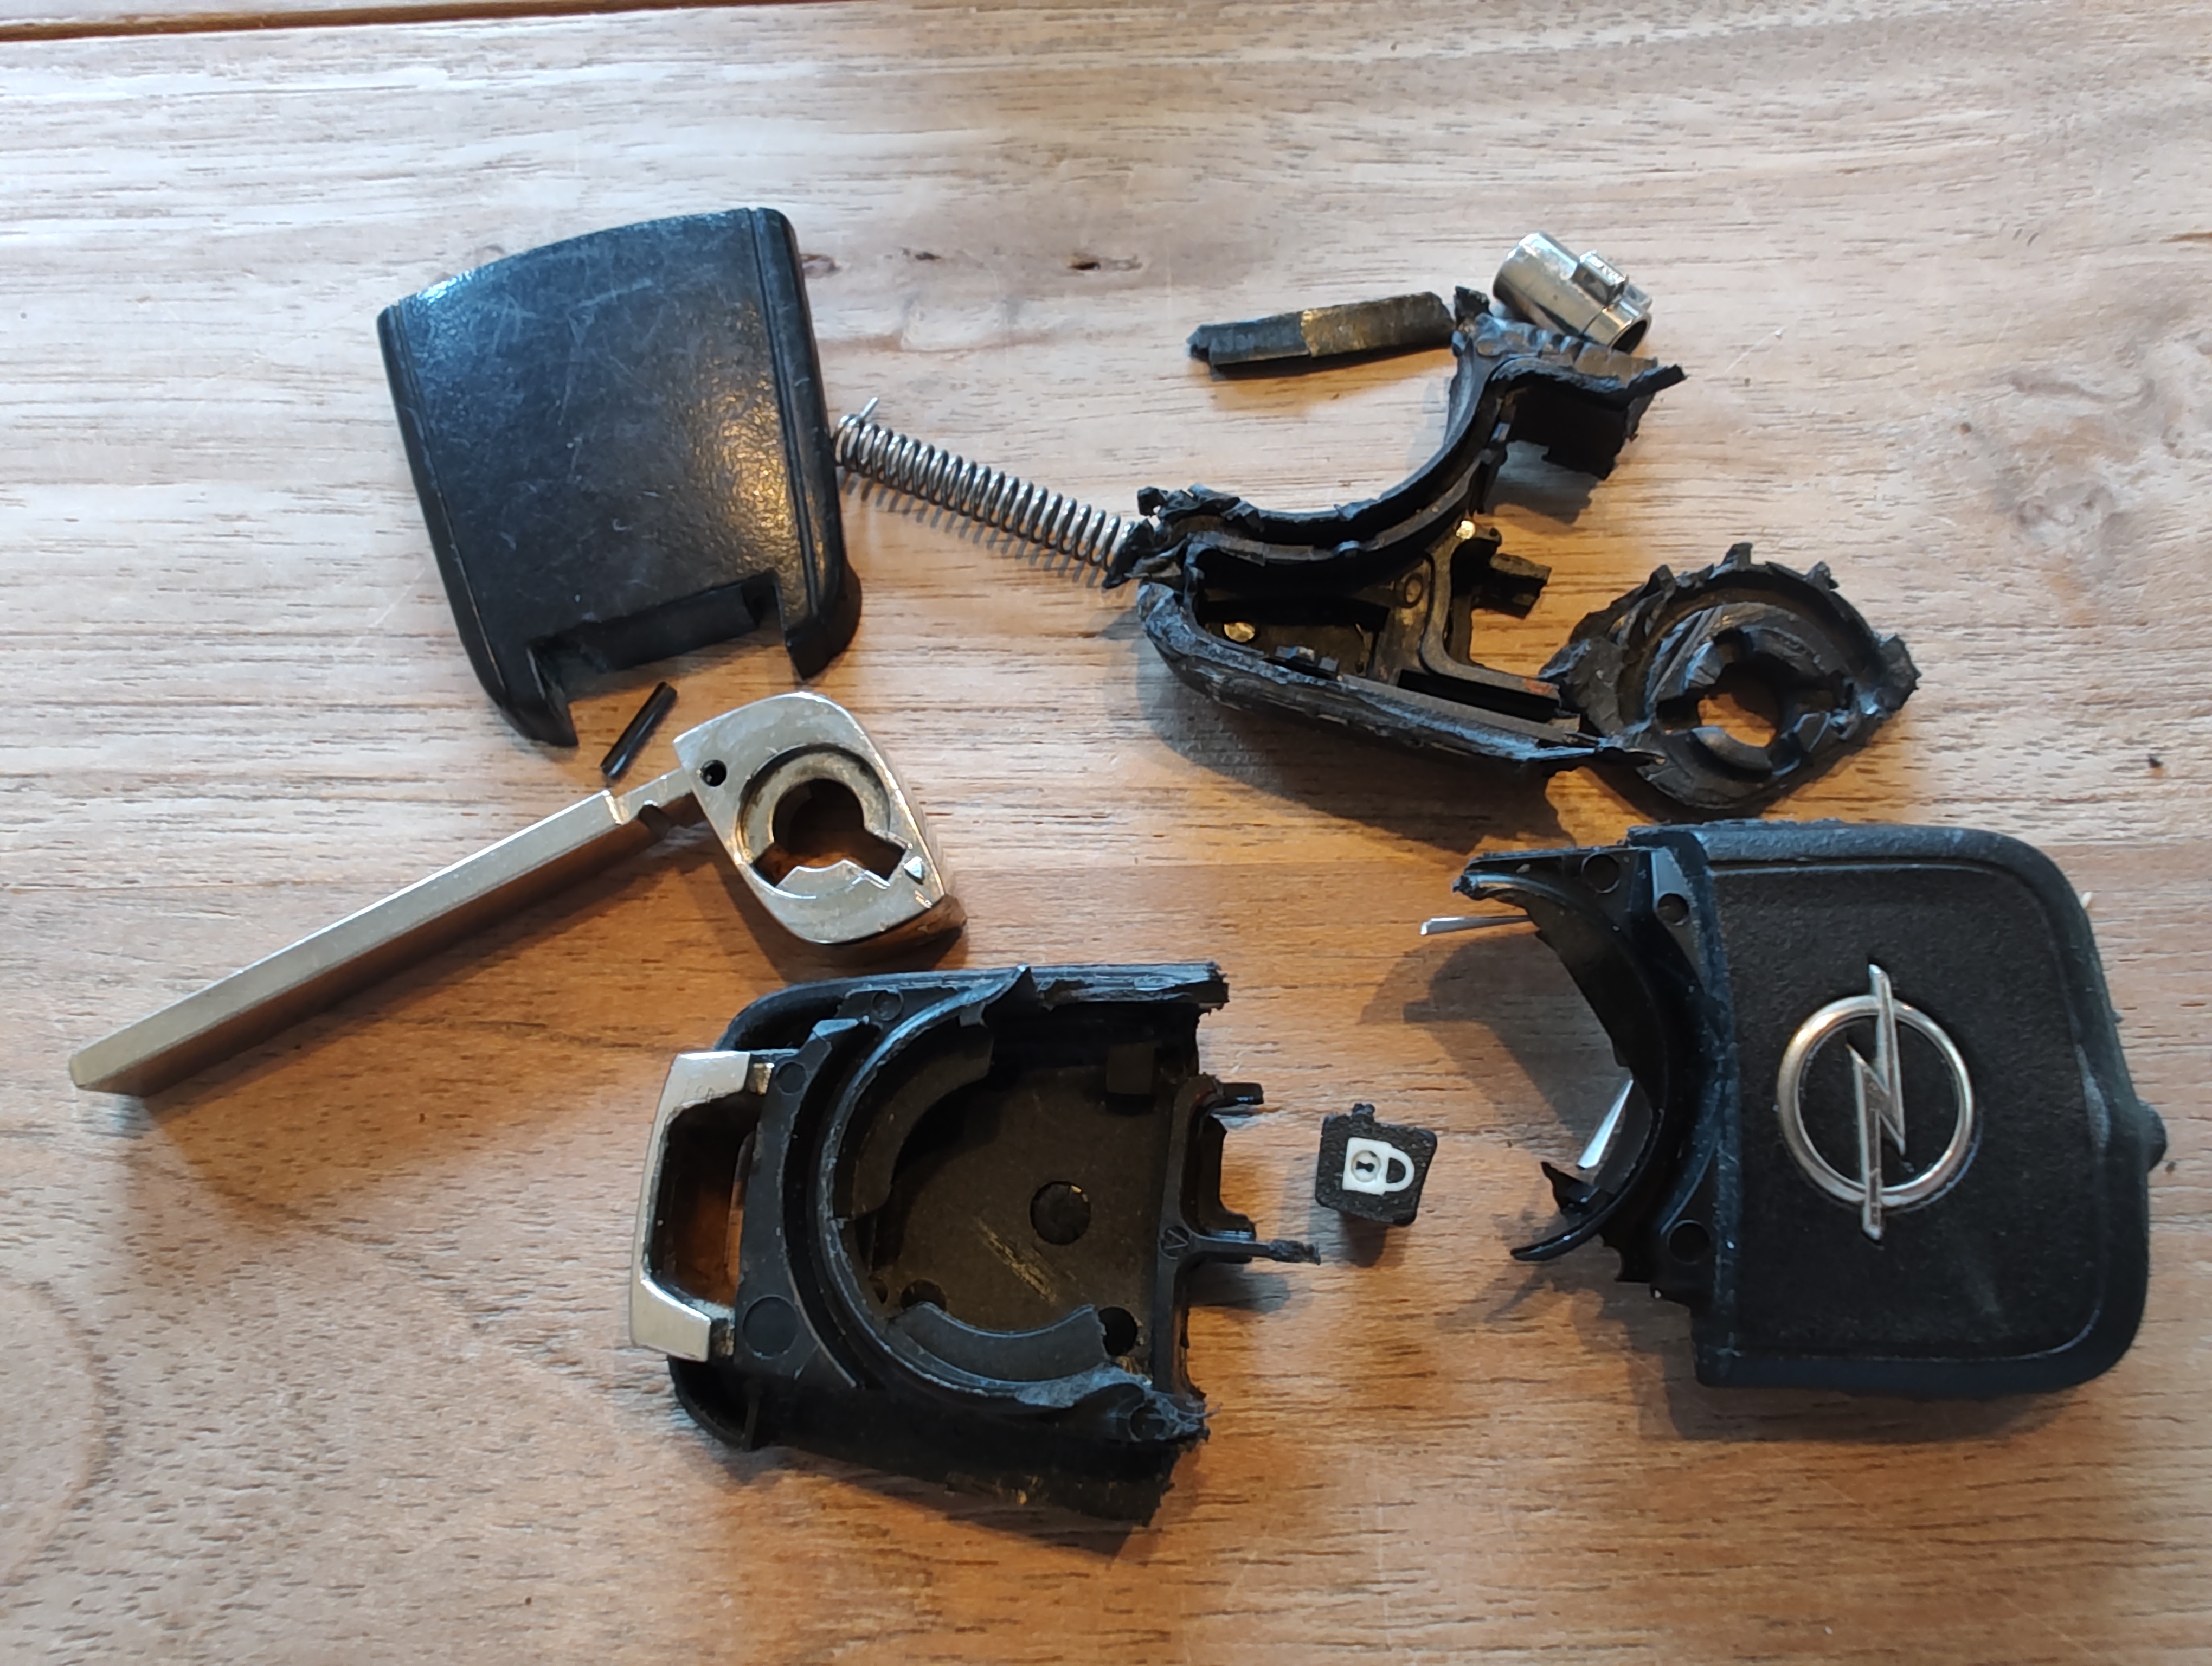
RIP old key
Step 3: put in new housing
The key opening mechanism parts were ever so slightly different from the old key. That meant that the key could not spring open like it used to. That meant I had to remove the key blade from the springing mechanism. Luckily the guy referenced there is also a video explaining how that works. You only need to have this type of specialized miniature keymakers’ workbench. That was a bit too niche a tool for me to buy for this job. Alternatively you can also use a small nail. I have a whole box of old nails and screws in the attic, so it was not hard finding one. After filing down the sharp bit I was able to hammer the pawl out, and place the key blade into the new housing.
Step 4: Done!
At least it makes a satisfying click when it opens.